This was in May and focused on using Android XML files and is a bit out of date, so I will try and extend that using a more NativeScript approach.
I thought I might as well extend some of the features of the Physiotherapy Exercises app I was working on so it would work on watchs.
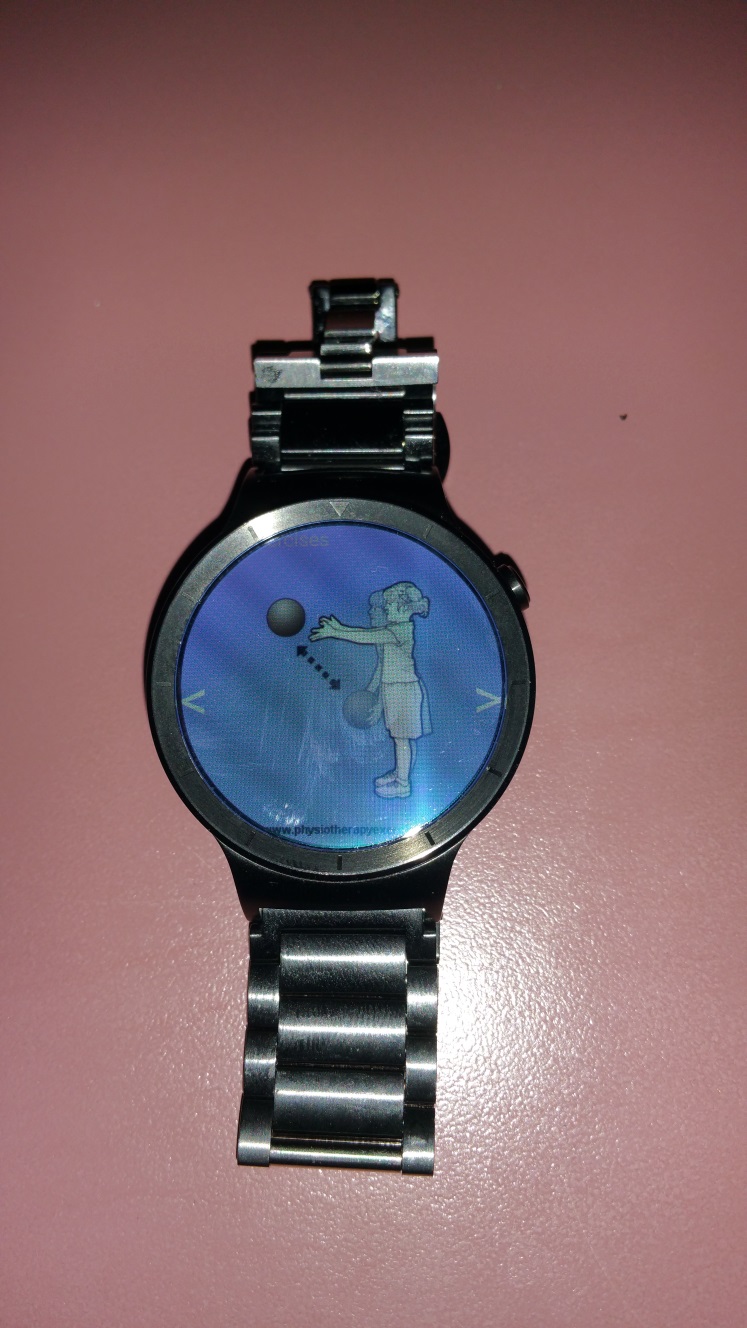
Here is some photos of it running on a huawei watch

The current idea is to let people with a watch view selected exercises on their watch. They can use the arrows to navigate back and forth.

They can scroll up and down to see the text.
Finally they can tap the exercise to toggle between text and image or just images.
Coding
To get started, you can just create a standard nativescript project.
tns create [foldername] --appid [packagename]
cd [folder]
tns platform add android
You need add features to the android manifest located in \platforms\android\src\main folder. Add the following next to the <uses-permission ...> statements
<uses-feature android:name="android.hardware.type.watch" />This is an early prototype, I have not set it up to use observables, be written in typescript and read data from other sources yet.
This is just demo code.
The xml for the main page is.
<Page xmlns="http://www.nativescript.org/tns.xsd" loaded="onPageLoaded" backgroundColor="#9A99FF">
  <GridLayout columns="auto,*,auto" rows="auto,*">
    <Label id="counter" text="1 of 10" class="counter" row="0" col="1"/>
    <ScrollView visibility="visible" id="text" tap="onTap" row="1" col="1">
      <StackLayout>
        <Label id="title" text="Balancing a ball while lifting one leg up and down" class="title" textWrap="true" />
        <Image id="image2" src="~/res/drawingshigh/ex0872.jpg"/>
        <Label text="Client's aim" class="subtitle" textWrap="true" />
        <Label id="clientAim" text="To improve your ability to sit unsupported." class="text" textWrap="true"/>
        <Label text="Client's instructions" class="subtitle" textWrap="true" />
        <Label id="clientInstructions" text="Position yourself sitting on a large ball with your feet on the floor. Practice lifting one leg up and down." class="text" textWrap="true"/>
        <Label text="Progressions and variations" class="subtitle" textWrap="true" />
        <Label id="progression" text="Less advanced: 1. Provide hand support for balance. 2. Decrease the height that the leg is lifted. More advanced: 1. Increase the height that the leg is lifted. 2. Increase the movement of the raised leg (eg. add knee extension or hip abduction)." class="text" textWrap="true"/>
      </StackLayout>
    </ScrollView>
    <Image id="image" src="~/res/drawingshigh/ex0872.jpg" visibility="collapsed" tap="onTap" row="0" col="0" colSpan="3" rowSpan="2"/>
    <Label row="0" col="0" rowSpan="2" text="<" class="arrow" tap="onArrowLeft"/>
    <Label row="0" col="2" rowSpan="2" text=">" class="arrow" tap="onArrowRight"/>
  </GridLayout>
</Page>
The javascript code behind is.
var gestures = require("ui/gestures");
var enums = require("ui/enums");


var exercises = [
    {
        title: "Assisted ankle plantarflexor stretch",
        image: "ex0320",
        clientAim: "To induce transient increases in the extensibility of the muscles at the back of your ankle.",
        clientInstructions: "Position yourself lying down with a rolled towel underneath your knee. Instruct a carer/therapist to place their hand around your heel and push your ankle upwards with their forearm.",
        progression: "None"
    },
    {
        title: "Balancing on a ball while lifting one leg up and down",
        image: "ex0872",
        clientAim: "To improve your ability to sit unsupported.",
        clientInstructions: "Position yourself sitting on a large ball with your feet on the floor. Practice lifting one leg up and down.",
        progression: "Less advanced: 1. Provide hand support for balance. 2. Decrease the height that the leg is lifted. More advanced: 1. Increase the height that the leg is lifted. 2. Increase the movement of the raised leg (eg. add knee extension or hip abduction)."
    }
    ,
    {
        title: "Finger and thumb flexor strengthening using grip device",
        image: "ex0667",
        clientAim: "To strengthen the muscles that bend your fingers and thumb.",
        clientInstructions: "Position yourself sitting with a grip strengthening device in your hand. Practice squeezing the device to make a fist.",
        progression: "More advanced: 1. Progress using strength training principles."
    }
     ,
    {
        title: "Throwing and catching a large ball with two hands",
        image: "ex0834",
        clientAim: "To improve your ability to throw and catch using both hands.",
        clientInstructions: "Position yourself standing up. Practice throwing and catching a ball with both hands.",
        progression: "Less advanced: 1. Use a lightweight ball or balloon. 2. Position the patient closer. More advanced: 1. Use a heavier ball. 2. Use a smaller ball. 3. Change the speed and trajectory of throw (eg. throw to either side of the patient)."
    }
       ,
    {
        title: "Walking sideways along a line",
        image: "ex0509",
        clientAim: "To improve your ability to walk.",
        clientInstructions: "Position yourself standing with your toes touching a line across the floor. Practice walking sideways along the line. Ensure that both feet point forwards.",
        progression: "Less advanced: 1. Take smaller steps. More advanced: 1. Take larger steps"
    }

]

var exerciseIndex = 0;

function onArrowLeft(args) {
    if (exerciseIndex > 0) {
        exerciseIndex = exerciseIndex - 1;
        displayData();
    }
}
exports.onArrowLeft = onArrowLeft;

function onArrowRight(args) {
    if (exerciseIndex < exercises.length - 1) {
        exerciseIndex = exerciseIndex + 1;
        displayData();
    }
}
exports.onArrowRight = onArrowRight;

function onTap(args) {
    if (text.visibility == enums.Visibility.collapse) {
        text.visibility = enums.Visibility.visible;
        image.visibility = enums.Visibility.collapse;

    }
    else {
        image.visibility = enums.Visibility.visible;
        text.visibility = enums.Visibility.collapse;
    }
}
exports.onTap = onTap;

function displayData() {
    var exercise = exercises[exerciseIndex];
    title.text = exercise.title;
    clientAim.text = exercise.clientAim;
    clientInstructions.text = exercise.clientInstructions;
    progression.text = exercise.progression;
    counter.text = (exerciseIndex + 1) + " of " + exercises.length;
    image.src = "~/res/drawingshigh/" + exercise.image + ".jpg";
    image2.src = "~/res/drawingshigh/" + exercise.image + ".jpg";
}

var text;
var image;
var image2;
var title;
var clientAim;
var clientInstructions;
var progression;
var counter;

function onPageLoaded(args) {
    var page = args.object;
    title = page.getViewById("title");
    clientAim = page.getViewById("clientAim");
    clientInstructions = page.getViewById("clientInstructions");
    progression = page.getViewById("progression");
    counter = page.getViewById("counter");
    text = page.getViewById("text");
    image = page.getViewById("image");
    image2 = page.getViewById("image2");

    displayData();
}
exports.onPageLoaded = onPageLoaded;
Designing your AppGoogle have quite a bit of documentation on how to write your app.
Note that I do not think nativescript supports the Wearable UI library directly (in terms of typescript definitions, xml options), so I have just tried getting a layout that works using what is available with "vanilla" NativeScript.
The arrows fill up the left/right rounded section, the number of exercises fill up the top rounded section leaving the remainder for scrollable content.
I tried using gestures but it does not seem to work with the gestures already built into android wear.
Running your App on the Android Wear Emulator
You cannot run your app on your watch using the tns commands, you have to use adb.
adb -e install myapp.apkAfter your install it, you have to uninstall it first before installing it again.
adb uninstall packagenameWhere package name is the name of the package as defined in the android manifest.
You can also just run your app on your Android mobile phone using standard tns commands, but you have to remember that it isn't very representative in terms of screen real estate space.
Building your App in Release Mode
Deploying an app to your android wear watch is different to deploying to your phone as you cannot just connect it up via a micro-usb cable. You have to package your app inside your phone/handheld app and also it must be built in release mode.
The tns command to do this is:
tns run android --release --key-store-path [your path] --key-store-password [password] --key-store-alias-password [password] --key-store-alias [alias]Packaging your App
This is taken directly from the google developer docs found here.
- Include all the permissions declared in the manifest file of the wearable app in the manifest file of the mobile app. For example, if you specify the VIBRATE permission for the wearable app, you must also add that permission to the mobile app.
- Ensure that both the wearable and mobile APKs have the same package name and version number.
- Copy the signed wearable app to your handheld project's res/raw directory. We'll refer to the APK as wearable_app.apk.
- Create a res/xml/wearable_app_desc.xml file that contains the version and path information of the wearable app. For example:
<wearableApp package="wearable.app.package.name">
  <versionCode>1</versionCode>
  <versionName>1.0</versionName>
  <rawPathResId>wearable_app</rawPathResId>
</wearableApp>
The package, versionCode, and versionName are the same values specified in the wearable app's AndroidManifest.xml file. The rawPathResId is the static variable name of the APK resource. For example, for wearable_app.apk, the static variable name is wearable_app. - Add a meta-data tag to your handheld app's
tag to reference the wearable_app_desc.xml file. <meta-data android:name="com.google.android.wearable.beta.app" android:resource="@xml/wearable_app_desc"/> - Build and sign the handheld app.
Demo on Appetize
Instructions
- Start android phone app first by clicking "Tap to Play"
- Start watch by clicking "Tap To Play"
- On watch, click mouse button
- Scroll through options until you see "Start" click that
- Scroll through options until you see "Physio" click that
- If it is not visible, give it a bit of time and repeat as it can take a few seconds to sync between phone and watch app
A larger version link is available here.
No comments:
Post a Comment